What do you think it takes to install an evaporative cooler? It may sound tricky, but with some guidance, you can understand all the steps. Evaporative coolers are a great way to keep your space cool and comfortable without using too much energy. If you follow some essential steps, you can have your cooler up and running in no time.
Table of Contents
ToggleUnderstanding Evaporative Coolers
An evaporative cooler, also known as a swamp cooler, works by pulling warm air through water-saturated pads. This process cools the air as it enters your home. It’s very different from a traditional air conditioner, which uses refrigerants and compressors. Instead, evaporative coolers are most effective in hot, dry climates.
Why Choose an Evaporative Cooler?
You may wonder why you’d want an evaporative cooler over a standard air conditioner. Here are some reasons:
- Energy Efficiency: Evaporative coolers consume less electricity than conventional air conditioning systems.
- Environmentally Friendly: They use water to cool the air, which means no harmful chemicals are involved.
- Cost-Effectiveness: They are generally cheaper to install and maintain.
Now that you understand what an evaporative cooler is and why they are beneficial, let’s talk about how to install one.
Tools and Materials Needed
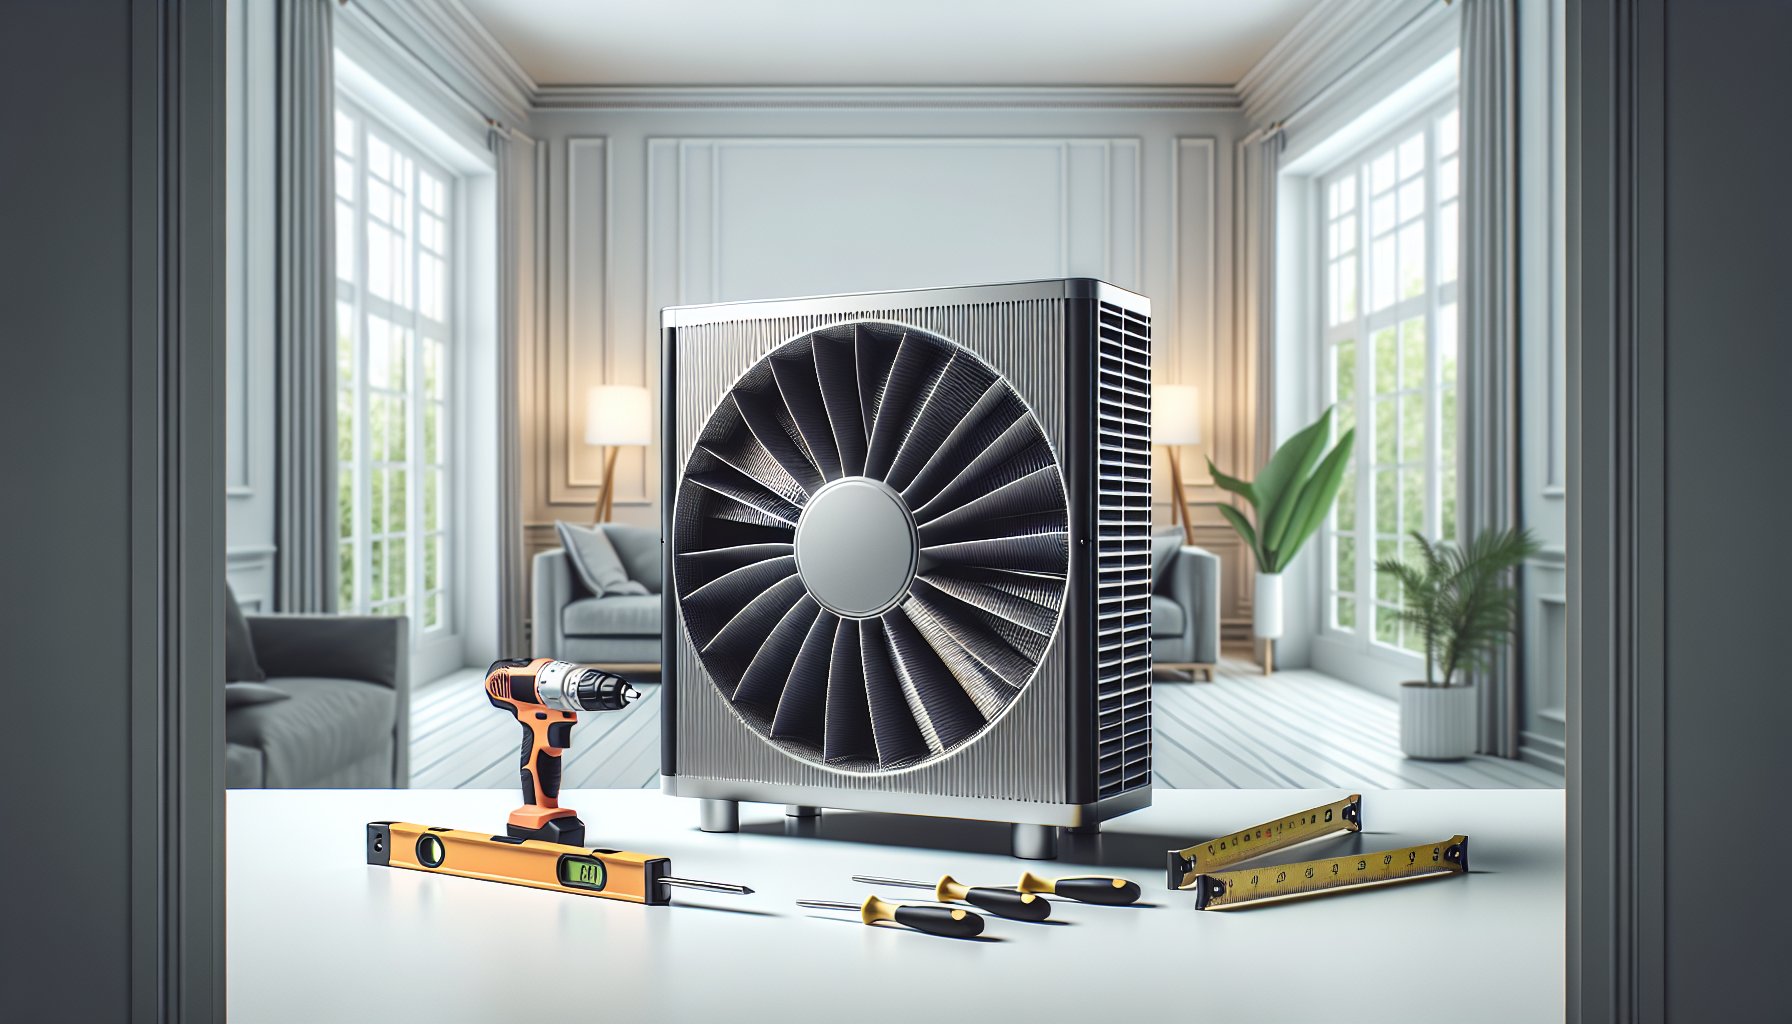
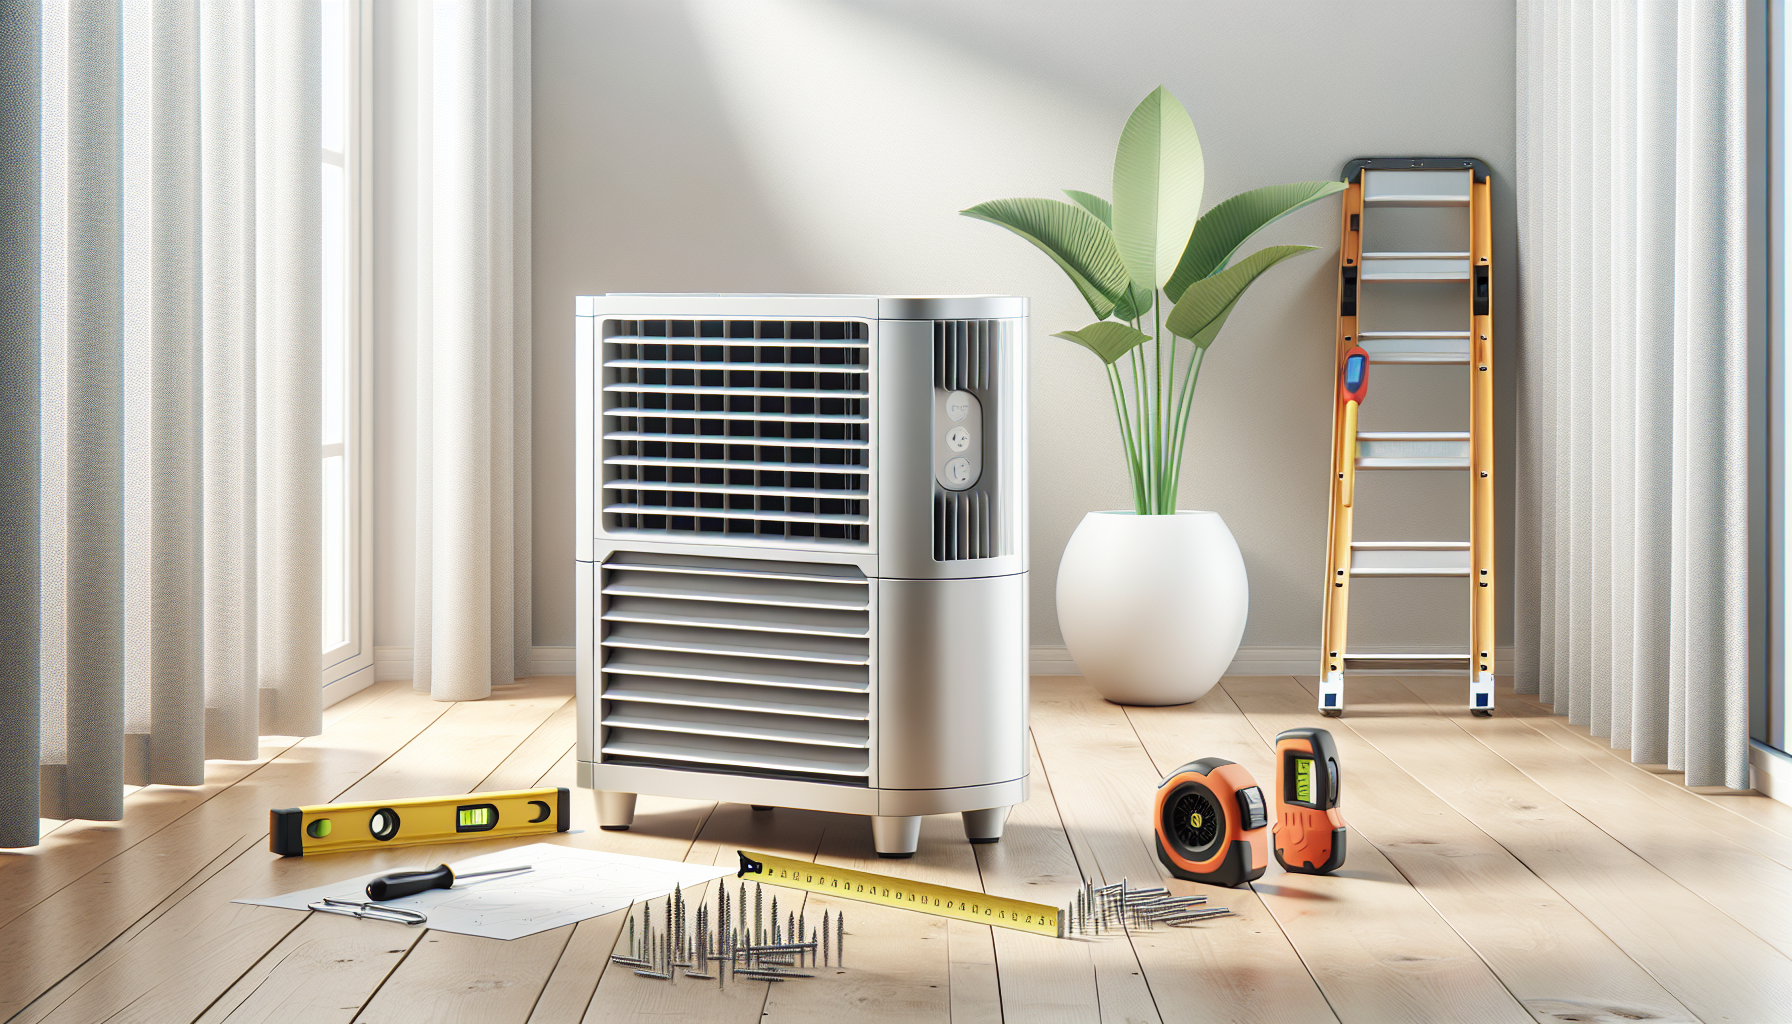
Before starting, gather all the tools and materials you’ll need for the installation. Here’s a list to help you:
| Tools and Materials | Purpose |
|---|---|
| Screwdriver | To fasten screws |
| Wrench | For tightening and loosening nuts |
| Pipe Cutter | If you need to cut any water pipes |
| Level | To ensure your cooler is installed straight |
| Evaporative Cooler Unit | The main item you are installing |
| Electrical Wiring | For connecting the cooler to a power source |
| Water Supply Line | To provide water for cooling |
| Ductwork (if required) | For directing the cool air where you need it |
Now that you have everything ready, it’s time to start the installation.
Choosing the Right Location
Picking the right spot for your evaporative cooler is very important. Follow these steps to find the best location:
- Near a Window: Place the cooler near a window or opening to allow the cool air to flow into your space.
- Height Matters: It should be installed at a height that allows air to flow freely without any hindrances.
- Avoid Obstacles: Make sure there are no trees, buildings, or other objects blocking airflow.
Once you select the perfect spot, you can proceed further.
Making Measurements
Accurate measurements are key to a successful installation. Measure the area where you plan to install the cooler. This helps you determine the size of the cooler you’ll need.
- Width and Height: Measure the width and height of the opening or window.
- Airflow: Consider how much air the unit needs to cool your space effectively.
By ensuring you have the right measurements, you can avoid potential issues later.
Installation Steps
Preparing the Area
Before you install your cooler, you’ll want to prepare the area. Make sure it is clean and clear of any debris. This will help the installation go smoothly.
Installing the Evaporative Cooler Unit
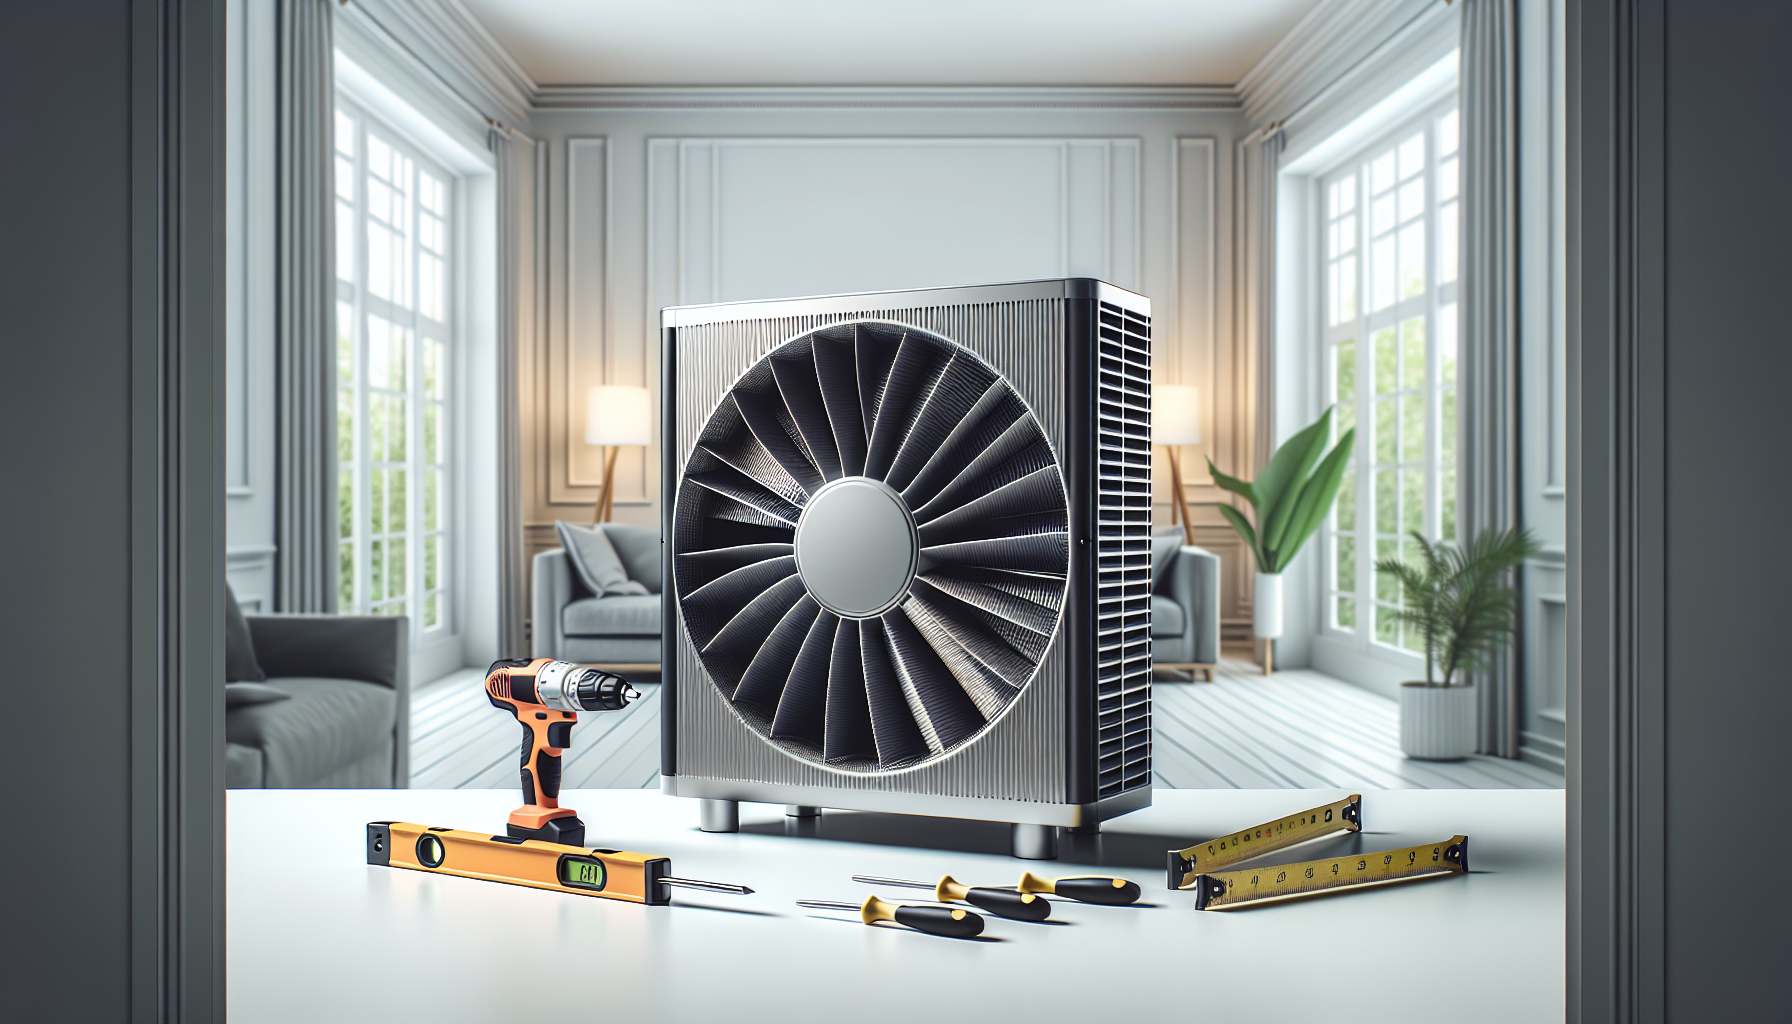
Now you can start with the actual installation of the evaporative cooler. Here is a simple step-by-step guide:
- Mounting: Secure the cooler according to the manufacturer’s instructions. Use screws to attach it firmly.
- Sealing Gaps: Make sure to seal any gaps around the cooler with weather stripping or other materials to prevent air leaks.
- Check Level: Use a level tool to ensure the cooler is straight. A leaned cooler can affect performance.
Connecting the Water Supply
The cooler needs water to operate correctly. Here’s how to connect the water supply:
- Locate a Water Source: Find a nearby water line or faucet.
- Attach the Water Line: Use flexible tubing to connect the cooler to the water source. Make sure it’s secure to avoid leaks.
- Test the Connection: Turn on the water supply briefly to check for leaks and ensure everything is attached properly.
Setting Up the Electrical Connection
Next, you’ll need to connect your evaporative cooler to electricity. Make sure you follow safety precautions.
- Turn Off Power: Before starting, ensure that the power is off to prevent electric shocks.
- Wiring: Connect the cooler’s electrical wires to the home’s power supply. If you’re unsure, it’s best to ask for help from a professional, like someone from KadeCo Inc.
- Secure Connections: Be sure all electrical connections are tight and secure.
Installing Ductwork (If Needed)
If you need to direct cool air to specific areas, you may require ductwork. Here’s what to do:
- Measure Duct Length: Measure the distance from the cooler to the room where cool air is needed.
- Cut Ducts: Cut the ducts to the needed length using a pipe cutter.
- Attach Ducts: Securely attach the ductwork to the cooler and the other end in the desired location.
Testing Your Evaporative Cooler
After everything is installed, you’ll want to make sure it works correctly. Here’s how to test your evaporative cooler:
- Turn on Power: Switch on the power supply to your cooler.
- Check Water Flow: Watch to see if water fills the cooler’s pads.
- Cool Air Flow: After a few moments, check if there’s a good flow of cool air coming out.
If all seems well, you’re ready to enjoy your cooler!
Regular Maintenance Tips
To keep your evaporative cooler working well, it needs some regular maintenance. Here are some easy tips:
- Clean the Pads: Regularly check the pads and clean them to avoid algae or dirt buildup.
- Inspect the Water Supply: Ensure that water flows freely and fix leaks if you find any.
- Check Electrical Connections: Occasionally inspect the electrical connections to ensure safety.
Troubleshooting Common Issues
Sometimes things might not work as expected. Here are some common issues and how to fix them:
| Problem | Solution |
|---|---|
| No Cool Air | Check if the water supply is working properly. |
| Strange Noises | Look for loose parts or debris inside the unit. |
| Water Leaks | Tighten connections or check for damaged hoses. |
If you can’t fix the issue, it’s a good idea to call a professional to help. KadeCo Inc. has friendly technicians who can assist you.
Conclusion
Installing an evaporative cooler can be a simple task when you break it down into steps. Remember to gather your tools, choose the right location, and follow instructions carefully. If you face challenges, don’t hesitate to reach out for help.
Every part of the process, from choosing the right cooler to installing and maintaining it, matters. If you want an easy and worry-free experience, let KadeCo Inc. handle your HVAC needs. They are known for their honesty, integrity, and great service.
So, as you think about keeping cool during the hot months, remember that a properly installed evaporative cooler can be your best friend. Follow the steps, maintain it well, and you’ll enjoy a comfortable, cool space!
If you have more questions or would like to get started with an installation, call KadeCo Inc. at (850) 516-7552. They are ready to help you with all your HVAC concerns!


