Have you ever wondered what to do when your computer or gadget doesn’t work like it should? Troubleshooting can sound like a big word, but it simply means figuring out what’s wrong and fixing it. Let’s learn together about how to master advanced troubleshooting techniques for systems, like computers or even HVAC units!


What is Troubleshooting?
Troubleshooting is like being a detective. Imagine if your toy is broken. You would look at it carefully, check if any pieces are missing, and see what might be wrong. The same process happens with machines, computers, or HVAC systems. You investigate the problem to find a solution.
Why is Troubleshooting Important?
When things go wrong with any system, it can be frustrating. Troubleshooting helps you get back on track. It saves time and money because you can fix things without needing to buy a new one or ask someone else to do it.
Step 1: Understand the System
Before you can troubleshoot effectively, you need to know how the system works. Every gadget or system has its own way of doing things.
Learn the Basics
Take some time to learn about your system. Read the manual or look online for information. Knowing the basic functions will help you figure out what’s wrong when there’s an issue.
Identify Symptom Patterns
Look for patterns in the problems. If your computer freezes every time you open a specific program, it could mean there’s a problem with that program, not the whole system. Noticing patterns can lead you to the right answer faster!
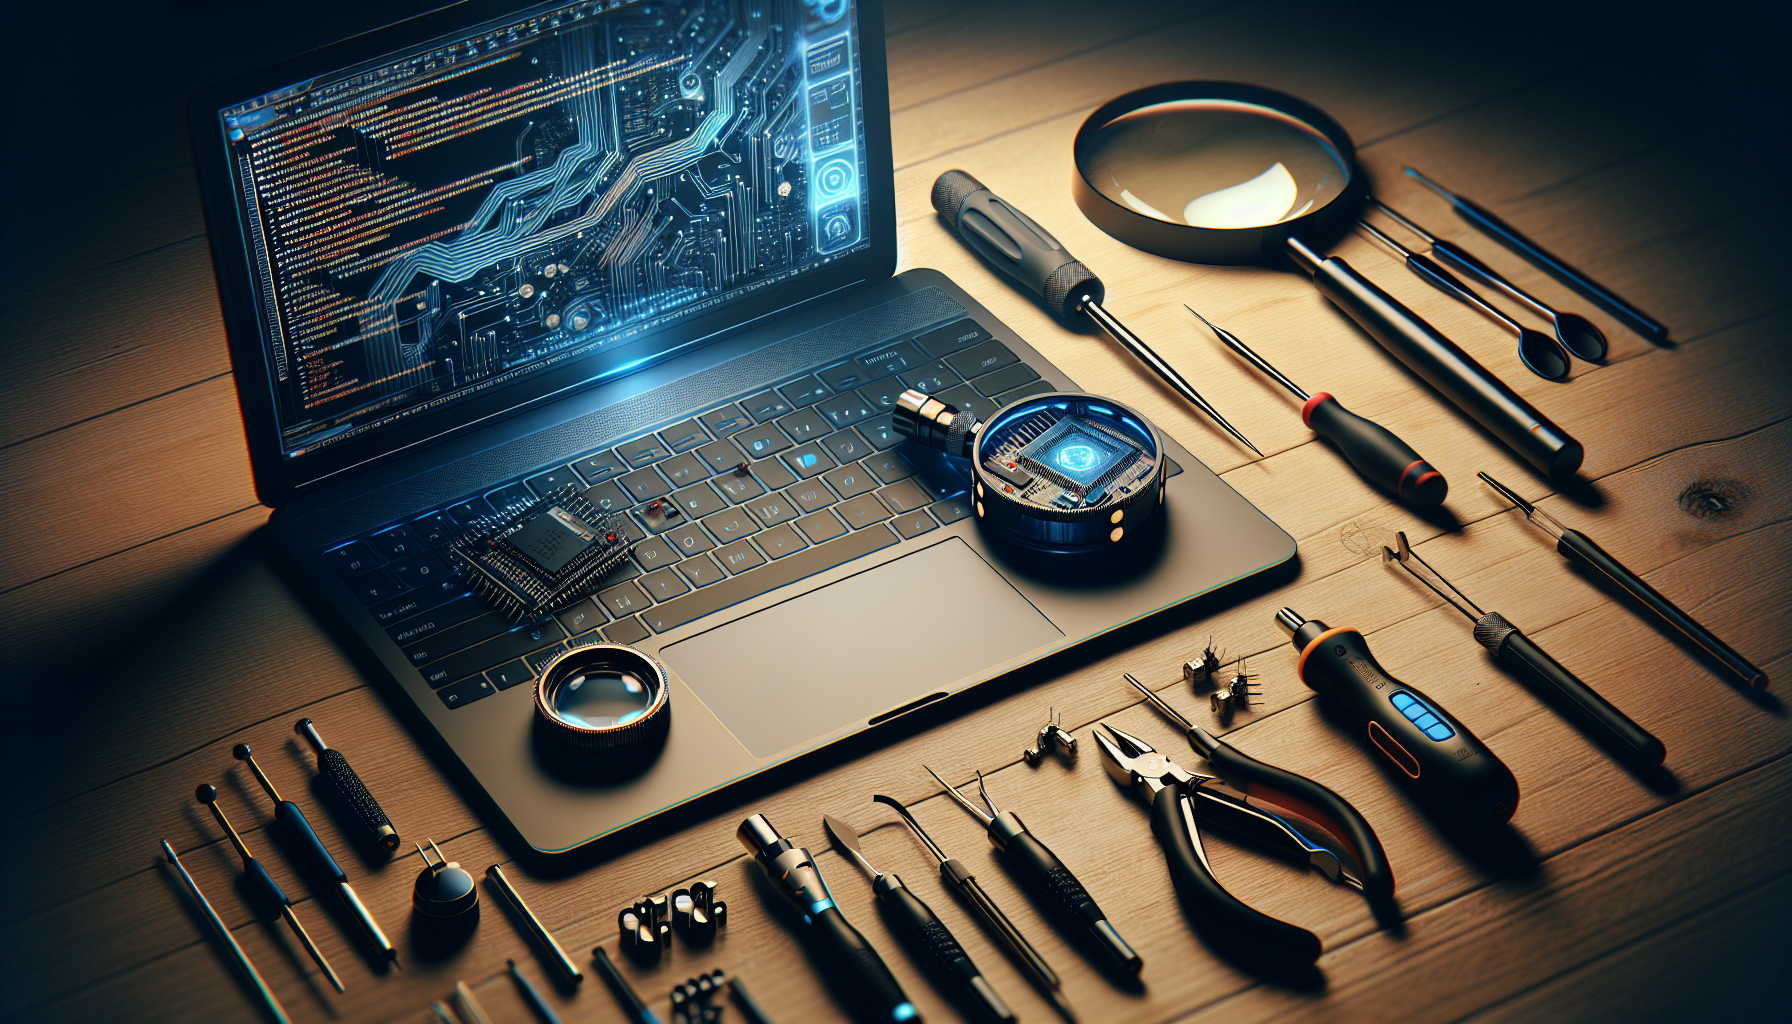
Step 2: Gather Tools
Having the right tools makes troubleshooting easier. Think about what you might need:
Common Tools
| Tool | Purpose |
|---|---|
| Screwdriver | To open up devices if needed |
| Multimeter | To check electrical connections |
| Software Diagnostic Tool | To find software issues |
| Flashlight | To see inside dark places |
Make sure you have these handy when you’re ready to troubleshoot.
Step 3: Check Power Sources
When something doesn’t turn on, it is often a power problem. This is a common issue that’s easy to check.
Look at Wires
Make sure all cables are plugged in. If the device uses batteries, check if they are charged. Sometimes, it’s just a matter of ensuring everything has power.
Reset the System
If your device has a power button, sometimes turning it off and back on helps reset things. It’s like giving your system a little nap!

Step 4: Diagnostic Tests
Many systems have built-in diagnostic tools to help you find issues.
Perform Basic Tests
To perform basic tests, look for diagnostic software on your computer. Most computers have tools in their settings to check for problems.
Use Test Equipment
If you have a multimeter, you can check voltage or continuity in appliances or electrical systems. Ensuring everything is working as it should is key to finding issues.
Step 5: Analyze Error Messages
If your system shows error messages, they tell you what’s wrong.
Learn Common Error Codes
Each device has its own set of codes. Search for the specific error code online to find more information. For example, a “404 error” on the internet means a page was not found. Each code gives hints about what to check.
Write it Down
Whenever you see an error message, write it down. This can help if you decide to ask someone else for help later.
Step 6: Test Components
Every system has parts that work together. If one part is broken, the whole system can stop working.
Inspect Physical Components
Look inside your device for anything that seems out of place. Check for loose connections, damaged wires, or dirt. A clean area can help components function better!
Swap Parts
If you have spare parts (like a different cable or battery), try swapping them out. This can help to see if a particular part is the culprit. If the problem goes away after switching a part, you’ve identified the problem!
Step 7: Update Software
Sometimes systems fail because they need updates. Keeping software updated is essential for smooth operations.
Check for Updates
For computers and smartphones, you can usually find an update option in the settings. Ensure your operating system and apps are the latest versions.
Restart After Updates
Once updates are complete, restart the device. This helps install new updates correctly and can solve many little problems.
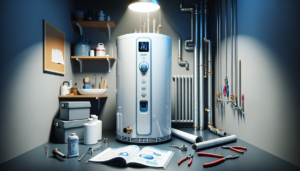
Step 8: Common HVAC Issues
Just like computers and other gadgets, HVAC systems can have problems too. They may not heat or cool properly. Knowing a few HVAC troubleshooting techniques can help you when needed.
Change the Filters
Dirty air filters can block airflow. If your system isn’t cooling, check the filters. Replacing them regularly can solve many issues.
Thermostat Settings
Make sure your thermostat is set correctly. If it’s too low or too high, it may not heat or cool your home.
Gas and Electricity Issues
If your HVAC system runs on gas or electricity, ensure these sources are available. A sudden cut in supply can affect performance.
Step 9: Reach Out for Help
Sometimes, after trying everything, you may still need help.
Know When to Call a Professional
If you have tried troubleshooting and it’s still not working, it’s okay to ask for help. You can call a technician who knows more about the system. They have experience in figuring out tricky problems.
Use Trusted Services
For HVAC issues, KadeCo Inc. is a great company to reach out to. When you choose KadeCo, you can trust that the job will be done properly. They have skilled technicians who help fix issues honestly and fairly.
Conclusion
Troubleshooting can sound tricky, but you can be good at it with practice! By understanding your system, gathering tools, checking components, and keeping things updated, you make solving problems much easier. Remember to write down symptoms and learn from each experience.
If you ever find yourself stuck, reaching out for help is okay. KadeCo Inc. is there for all your HVAC needs, ensuring you get quality service every time. You deserve to have your systems running smoothly, and with these tips, you are well on your way to mastering troubleshooting!